Here we go, are you ready? Van insulation is a topic discussed ad nauseam, with a dizzying amount of science and options out there, telling you what to choose. We’ll start by saying that since we’re A) in Southern California and B) not living in our van full-time, insulation wasn’t a huge importance in our camper van build. But there’s important factors here that you should know, as well as a lot of frequent misconceptions, some of which we fell for! Learn from our mistakes below:
The “Alternative Facts” of Reflectix
You may be seeing what we saw – lots of videos and guides exclaiming the importance and using Reflectix, a radiant heat barrier (meaning it reflects the heat carried by sun rays). Many will put this material directly on the inside walls of their van, (guilty). And while this doesn’t hurt insulation, it does very very little.
Reflectix needs an air pocket to reflect radiant heat, which is why placing it flat against the metal walls of your van is generally perceived as a waste of time and money.. What IS a proper use of Reflectix, however, is making cutouts for use in your glass windows, which will effectively keep the hot sun rays out of your interior. So now, like us, you know better. The importance of insulation revolves around R-Value, moisture retention (you want it to not soak up condensation), and ease of installation.
For a look at Reflectix properly utilizing an air pocket on the walls, check out this awesome ProMaster build, which is also helpful for planning walls & flooring:
Common van insulation
People have varying opinions on the best insulation to use, be it expanding foam (great for nooks and crannies), denim insulation, or cut foam boards. The higher R-Value, the better insulator it is. Here’s a brief overview of each:
- Expanding foam: (R-Value: 6.5) This comes in a spray can and is essentially liquified polystyrene foam that expands and solidifies as it sets. It’s great for nooks and crannies, relatively inexpensive, and sticks to any material it comes in contact with. This has a downside, though – expanding foam is not coming off easily, so no turning back one you start spraying.
- Denim Insulation: (R-Value: 13) Often made from recycled jeans and cotton, this is arguably one of the “safest” forms of insulation in terms of chemicals ingredients and respiratory harm (something that can’t be said for fiberglass insulation, which requires precautions when installing). It’s a very eco-friendly solution and a good insulator, but tends to settle in clumps after years of bouncing around in the back of your van. Note: you’ll need to achieve about 3.5 inches of thickness to obtain an R-Value of 13.
- Foam board: (R-Value: Varies) This polystyrene rigid foam is similar to expanding foam, but in pre-formed boards which are easy to cut/shape, don’t irritate your lungs or throat, and have a good R-Value per inch of thickness (~R-6 per 1″). This is especially handy if you’re trying to maximize interior room of your van, as you can buy sheets as this as 1/2″ thick. The downside to foam boards is coverage – they bend slightly, which aides in installation, but there will be some air gaps. And cutting little bits and shoving them in any small spaces isn’t as effective as expanding foam.
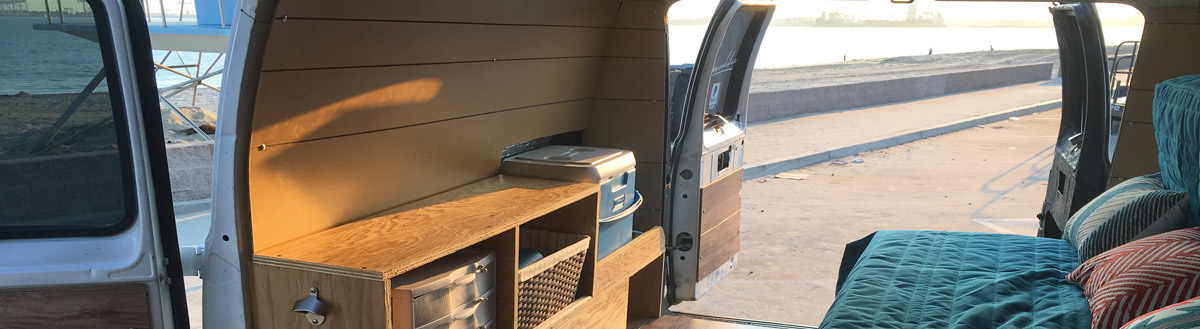
We ending up using 1″ foam boards for my van sub floor (with 1/4″ plywood on top), and thinner foam boards for the walls (on top of my silly reflectix). If you’re going to install wall panels in the van (at the very least luan plywood, in my opinion), these will cover any ugly insulation, so go wild and make sure nothing will shift around too much.
Vapor Barriers
Similar to the widespread Reflectix myth, when constructing a do-it-yourself camper, you do NOT need a vapor barrier on top of the insulation in your van (or anywhere really).
The myth: A vapor barrier (plastic sheeting) will keep moisture in the air (which develops from the environment, your breathing, or steam from cooking), AWAY from your precious metal van walls and floor, preventing rust.
The reality: Your van walls are already an impermeable surface (essentially its own vapor barrier). By installing a vapor barrier in your camper van, you would be creating a “pocket” that would trap moisture and condensation inside, increasing your odds for rust damage.
You’re best bet in reducing condensation and therefore rust, is to use permeable building materials, ensuring adequate airflow in your van.
If your walls, ceiling, and floor is insulated and you’re ready to start putting up the final walls and flooring, continue on!
Continue to Walls & Flooring ➟
Links to materials for “The Build”:


Stay up to date on new gear!