Get amped on your van conversion.
Wiring up electrical components in a van conversion is daunting, especially if you’re like me and didn’t know jack. But it’s not as terrifying as it seems, and depending on the camper van battery setup you want, you can be up and running in an hour or so.
The van that we bought had some electrical problems going in, with the central dash looking like a rat’s nest and I wasn’t sure if any fuses were blown or not, so I went out and picked up a multimeter, something that I figure will serve me for the rest of my adult life. Once you learn how to use a multimeter, you’ll feel your electrical expertise shoot up 1000%. It also comes in handy when checking the charge of both your starter and deep-cycle battery if you choose not to get a voltmeter, but we’ll get into that below.
Determining your needs
Before you do anything, you should determine what your usage would most likely be on a day-to-day basis. Powering a cellphone and some LED lights is a very small load compared to running a TV and mini refrigerator. Let’s dive into how to calculate your estimated usage and how this information will be used to pick both a battery and a way to continually charge that battery.
All of the devices you’d like to power will have watts/volts information printed on them in some way or another. Use (Watts/Volts = Amps) equation to determine the amperage that device requires. For instance, you’ll see in the description that this 12V fan uses 48 watts. 48 watts divided by your 12 Volt battery = 4 amps. AGM batteries are measured in Amp hour increments, meaning a 100 amp hour battery will technically power this fan alone for 25 hours.
BUT, deep-cycle batteries, as well most other 12V batteries, should never be discharged lower than 50%, otherwise you’ll greatly reduce the lifespan of your campervan’s battery. So, in essence, a 100 AH battery will power a 4 amp fan for 12.5 hours before needing to be recharged. Looking for more power? Consider getting a larger amp hour battery, or you can wire multiple in parallel.
Click here for an excellent calculator, which already takes into account the 50% rule, meaning the final amp hour number you see is the lowest battery rating (in amp hours) you should purchase.
Recharging your camper van’s deep-cycle house battery
So you’re running a fan, and maybe charging your phone once a day, or maybe even running an electric mini refrigerator 24/7. You’ll need a way to recharge the batteries in one way or another. There are two ways to do this: charging from your van’s alternator via a battery isolator, or installing a solar panel setup on your camper van.
Solar
I should preface this by disclaiming that we have not installed a solar set up on our rig, as we plan to be very mobile and running the engine daily, constantly recharging our house battery via an isolator (see below), but for those wishing to be independent of gas usage, or simply want to stay put for longer periods of time, a solar panel setup is a must. You can piece together your own and shop around for some good individual deals, otherwise this Renogy starter kit is pretty much everything you need for a basic setup, at a very fair price.
Just know, that unlike the Watts/Volts=Amps section above, the speed and efficiency of which the panel will recharge your house deep-cycle battery is not an exact formula. It will all depend on the amount of sun/shade the panel gets, the direction it is pointed, etc. Stay on the safe side and get more panel wattage than you’ll think you’ll need.
Isolator
We picked up this little guy and installed it real easily after we finished our laminate floor plank installation. We wanted it mounted near the rear wheel well, where the battery would live (the shorter the wire distance from isolator to battery, the better.)
Here’s a great tutorial and explanation on isolators, how they work, and the install:
-
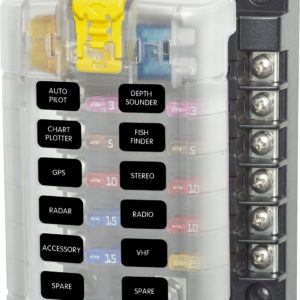
12 Circuit fuse block w/ cover
Read reviews > -

6-Way LED Illuminated Blade Fuse Box with Cover
Amazon > -
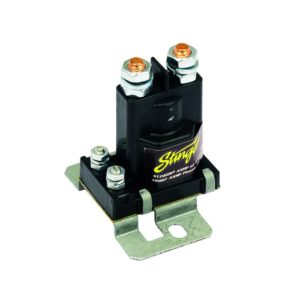
80-Amp Battery Isolator
Read reviews > -
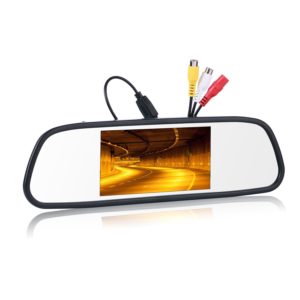
Backup Camera and Monitor Kit w/ Night Vision
Read reviews > -
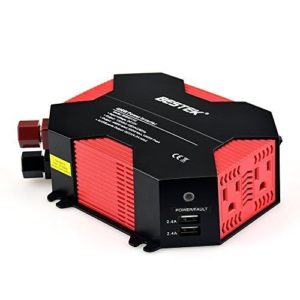
BESTEK 400W Inverter w/ 5A 4 USB Charging Ports
Read reviews > -
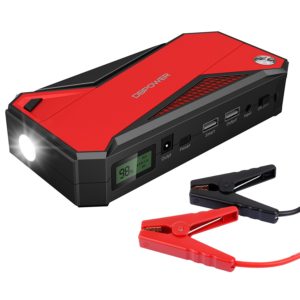
DBPOWER 18000mAh Portable Car Jump Starter
Read reviews > -
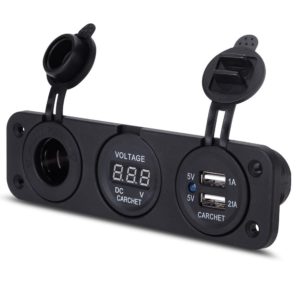
Dual USB Charger + Voltmeter + 12V Outlet Socket
Read reviews > -
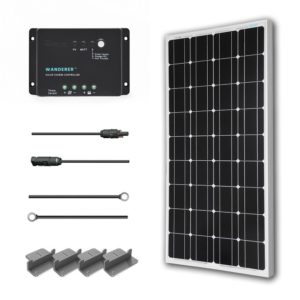
Renogy 100 Watts Solar Starter Kit
Read reviews > -
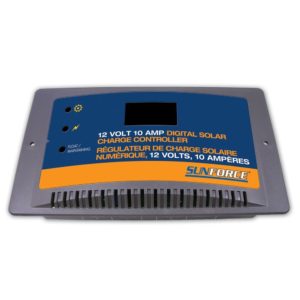
Sunforce Digital Charge controller (for solar)
Read reviews > -
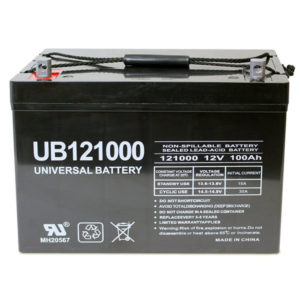
Universal AGM Battery – 100 AH
Read reviews > -
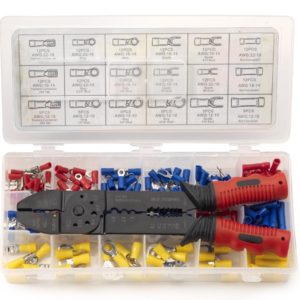
Wire Stripper/crimper and Terminal Connection Kit
Read reviews >

